 |
| Thumbnail (for now) |

I often utilize my ISO settings last and prefer to keep it at around 100 or 200. Obviously, situations change, but most of my photos require natural and good sunlight (something Hawaii provides an abundance of). Thus, I use it last. For darker, evening, and indoor environments, I may bump it up higher in the 400-1600 range, but I highly shy away from those as I like adding my own grain; not the destructive color grain that comes with high ISO on most cameras.

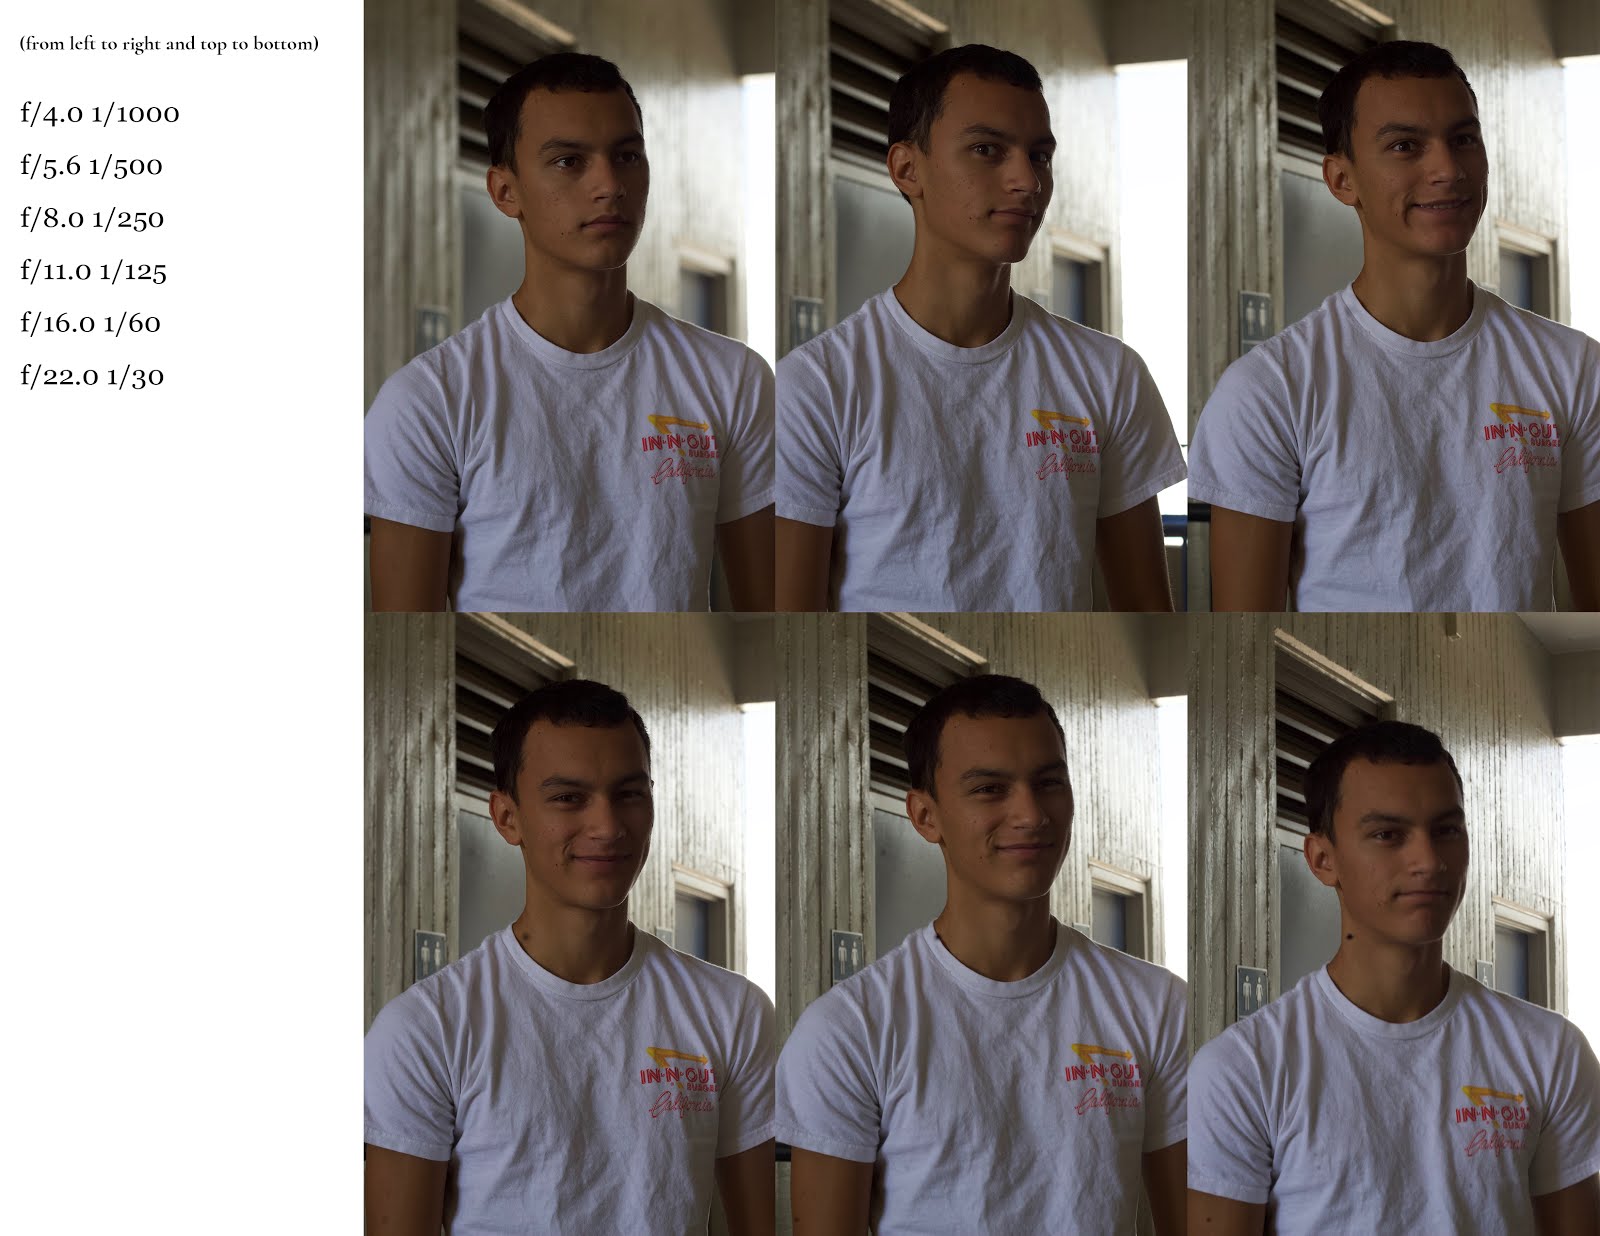
The aperture is the very first thing I adjust when I'm trying to expose for an image. Attaining the right depth of field for your image really all depends on what type of photo you want to take. For example, for portraiture, you usually would want to isolate the subject. Thus, a lower f/stop (wider aperture) number would be logical. If you want to get as much of your photo in focus, like a landscape photo, then you'd go for higher f/stop numbers (smaller aperture). You adjust the other parts of the exposure triangle accordingly.


When conducting the equivalency slant charts for indoor and outdoor photos to expose the same photo with different f/stops and shutter speeds, one can certainly take note of all of the aperture changes and especially how slow/fast the shutter is at different speeds. I have a large background in exposing for the right situation, but these equivalency charts definitely helped me to understand just how risky it is to aim for slower shutter speeds when you're shooting handheld.
 |
| f/6.3 1/25 |
 |
| f/22 1/4 |
To achieve these shots, I merely had to use slower shutter speeds. I tried using the shutter priority mode, but I did not like how drastically it changed the aperture (for example, f/22 is far too small of an aperture for my liking for these photos). Choosing a moving object and a constant background proved simple and are reflected in the simplicity of these photos, but if lighting was not as available as it was on this day, I'd definitely try to play around with aperture and ISO to balance out. A tripod may have also helped.
 |
| f/18 1/40 |
 |
| f/18 1/80 |
For these photos, timing and motion of your body is essential. You definitely need your vestibular sense and kinesthetic sense to be able to "track" it with your subject, or at least moving the camera accordingly. I did not have good success with tracking a close human subject and it was quite rushed, but with a car it is slightly easier as they are more distant from the camera.
 |
| f/1.8 1/640 |
 |
| f/2.0 1/1250 |
In poor indoor lighting condition, it definitely would make sense to stretch out the capabilities of one's ISO settings to capture the images without sacrificing depth of field and shutter speed. I felt that the second photo of the two proved successful in capturing great shutter speed control and isolation of the subject (which in my case was simply trying to capture the detail in the popping/spurting bubbles).
 |
| f/2.5 1/3200 |
 |
| f/3.2 1/3200 |
 |
| f/5.0 1/1250 |
Capturing fast shutter was relatively easy as you have less "moving parts" to worry about camera-wise, but more moving parts to worry about real life-wise. On this day, lighting was in great abundance, so all we really needed to worry about was how we were going to setup the action/photo itself, how we splash water onto the subjects, etc. It's less technical difficulty and more conceptual difficulty.
Overall, this project was a nice refresher mainly in the fast shutter avenue. The other exposure controls were very familiar to me, and I feel that this project proved that. I definitely hope to incorporate the fast shutter concepts into my own projects in the future as it is fun and interesting to create those kinds of images. They may prove difficult, yes, but the challenge is great and could potentially expand my range of photography beyond just portraiture and street.


No comments:
Post a Comment